
I’m a medical laboratory technician by trade. I spend my days pipetting exact volumes, running controls, and documenting everything in triplicate. So you’d think I’d have approached diaper rash prevention with the same clinical precision I bring to a blood smear. Nope. The first time my daughter erupted in a fiery, angry rash, I stood there at 2 a.m. holding a diaper like it was a hazardous material spill, completely frozen. The problem? I was overcomplicating it. I had been gifted numerous creams and ointments at the baby shower, but instead of following any methodical approach, I just slathered on whatever tube my sleep-deprived hand grabbed first. This resulted in an unhappy baby and a week-long battle against her red, bumpy disaster. That’s when I put my lab-tech brain to work and stripped the whole process down to four repeatable steps—nothing fancy; just effective strategies that work with the skin instead of against it.
Step 1: Clean the Canvas (But Don’t Scrub It Raw) Many parents—especially dads—approach diaper changes aggressively as if they’re sanding rust off metal. Stop! Infant skin is delicate; friction can cause irritation. 1. Use plain, fragrance-free wipes or damp washcloths. 2. Gently sweep the area clean from front to back. 3. If it’s really messy (a blowout), use more wipes but maintain gentle pressure. 4. Avoid anything with alcohol or heavy perfumes—they sting! If redness is already present: – Use warm water for rinsing followed by gentle patting with cloth for optimal results.
Step 2: The Pat-Down That’s More Pivotal Than You Think Moisture is your enemy here! After cleaning: – Press dry washcloths or wipes into every fold of skin gently until bone-dry. Allow thirty seconds for air circulation before putting on the new diaper—this helps ensure no residual moisture remains trapped under it.
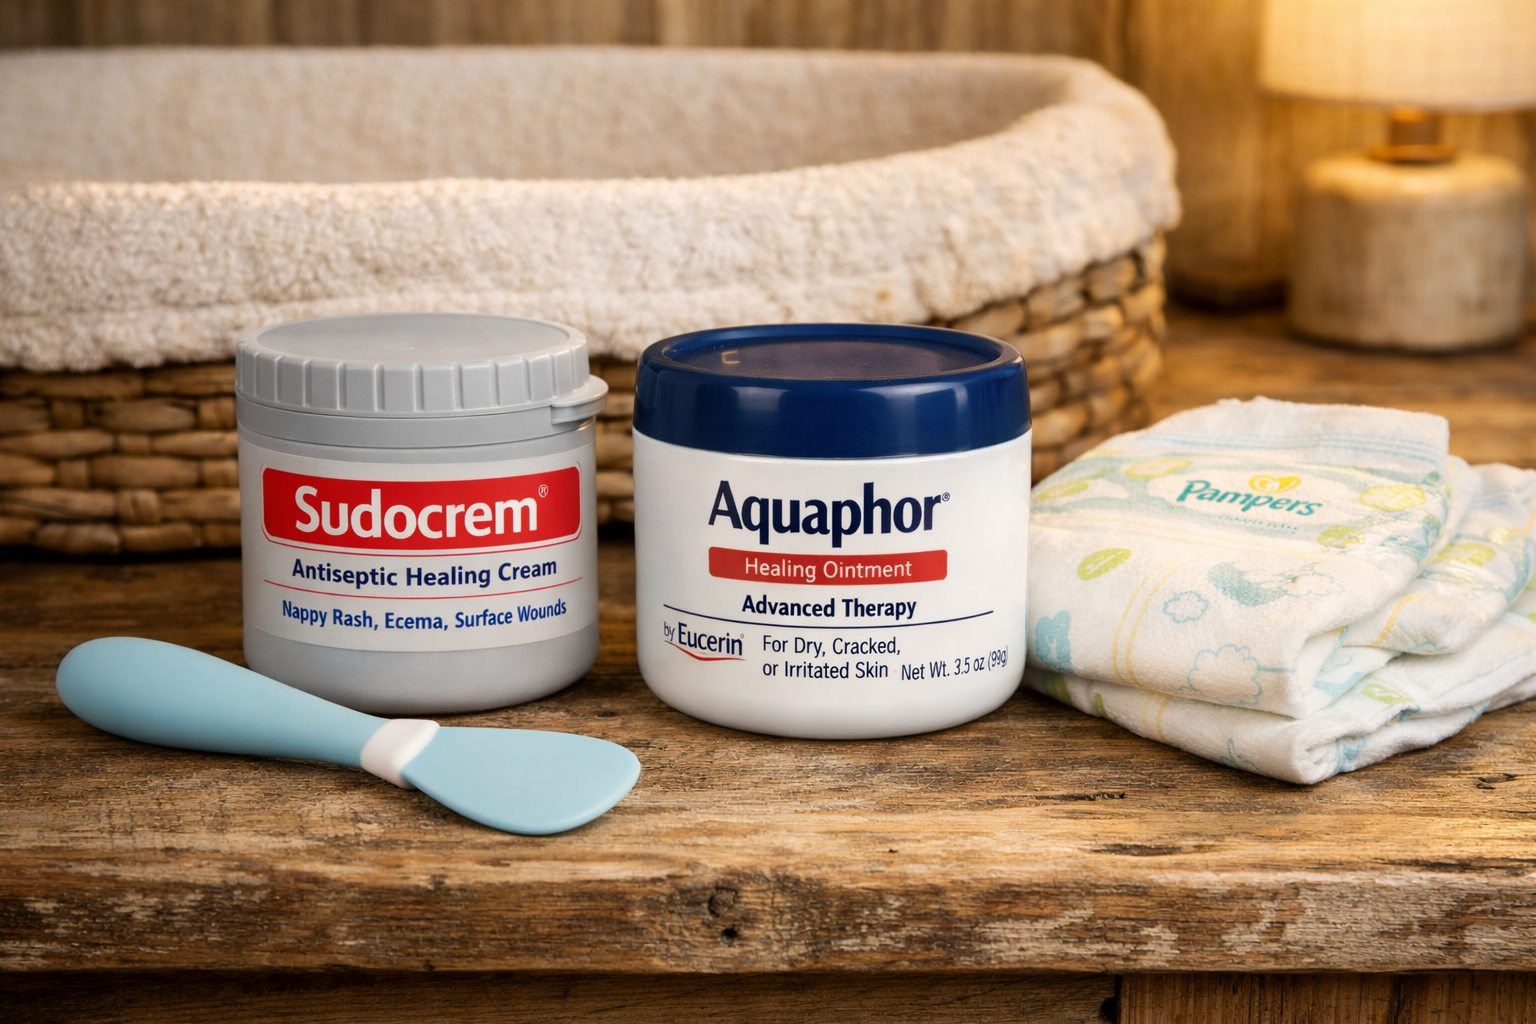
Step 3: The Barrier Layer – Diaper Rash Prevention’s Quiet Workhorse This step is crucial! 1. Apply using a clean tool—a silicone applicator works best to avoid contamination. Start with: – A thin layer of Aquaphor, which forms a breathable barrier while locking in moisture. For sensitive skin: – Opt for plain Vaseline, which has fewer additives and provides better hydration without irritation risk. Think of this layer like rain gear—it doesn’t treat problems but prevents them from happening!
Step 4: Sudocrem – The White Paste That Seals the Deal Now apply Sudocrem, known for its soothing zinc oxide properties: 1. Remember that Sudocrem alone may not suffice for sensitive skins since it can be drying. 2. Always apply it over your Aquaphor/Vaseline base so you lock in moisture while benefiting from its protective qualities.
Final Thoughts By following these four simple steps consistently during each change: – You’ll reduce instances of rashes significantly! And this routine works whether you’re at home or dealing with late-night changes after daycare drop-offs—it becomes second nature fast! What about you? What are your late-night hacks? Got any tips involving kitchen staples or maybe even some humor? Please share them in the comments below—I’m always eager to learn more tricks as this parenting journey continues!